
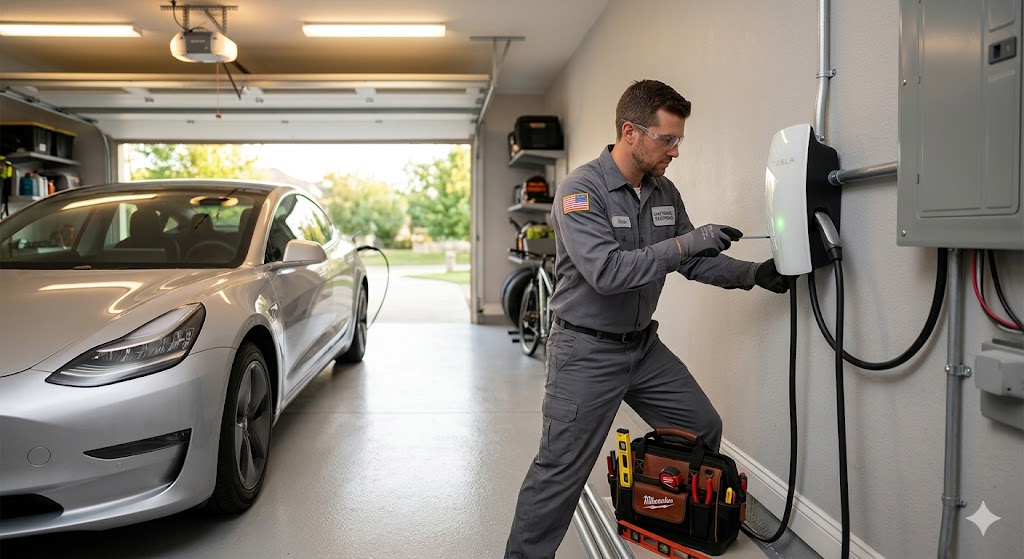
You just bought an electric vehicle – congratulations. Now comes the next question every new EV owner asks: how long is this charger installation actually going to take?
The honest answer is: it depends. A straightforward Level 2 home charger installation in a well-prepared home can be done in 2 to 4 hours. But if your electrical panel needs an upgrade, permits need to be pulled, or the charger needs to be mounted far from your electrical box, the timeline stretches – sometimes to a few days.
In this guide, we break down every stage of the installation process so you know exactly what to expect before your electrician even shows up.
The Short Answer: Installation Timeline at a Glance
| Scenario | Estimated Time |
|---|---|
| Simple Level 2 install (panel ready) | 2 – 4 hours |
| Install with minor wiring run | 4 – 6 hours |
| Install requiring panel upgrade | 1 – 3 days |
| Multi-unit or commercial installation | 2 – 5 days |
Most residential EV charger installations in Southern California fall in that first or second category – a single day job. But there are several factors that can push your project into a longer timeline.
Stage 1: Pre-Installation Assessment (30 Minutes to 1 Hour)
Before any wiring gets touched, a qualified electrician will assess your home’s electrical system. This typically happens either during a site visit or on the day of installation.
Here’s what they’re looking at:
Your electrical panel capacity. A Level 2 charger requires a dedicated 240-volt circuit, typically on a 40–60 amp breaker. If your panel is already maxed out or is an older 100-amp panel, there may not be room for the new circuit without an upgrade.
Distance from the panel to the charger location. The farther the charger is from your electrical panel, the more wiring is needed – and the more labor and materials are involved. A garage directly adjacent to your main panel is the ideal setup.
Existing conduit or wiring. Some homes already have conduit runs in place from a previous project. If so, the installation can move much faster.
Permit requirements. In California, EV charger installations typically require an electrical permit from your local building department. Your electrician handles this, but the permit approval can sometimes add a day or two to the overall timeline.
If you’re wondering whether your home is ready, our site assessment and consultation service is designed to answer exactly these questions before work begins.
Stage 2: Permit Acquisition (1 Day to 2 Weeks)
This is the part most homeowners don’t think about – and the one that most often causes delays.
In cities across Los Angeles County, Ventura County, and the surrounding areas, an electrical permit is required before installing a Level 2 EV charger. The permit process typically involves submitting your installation plan to the local building department and waiting for approval.
How long does this take?
- In some jurisdictions, permits are issued same-day or next-day online.
- In others, it can take 5–10 business days, especially if the office is backlogged.
- If your project involves a panel upgrade, you may need a separate permit for that work.
We handle the full permit process for our customers. You can learn more about how that works on our permit acquisition assistance page.
The good news: permit approval and scheduling your installation can happen simultaneously. You don’t have to wait for the permit before booking your install date – we coordinate both.
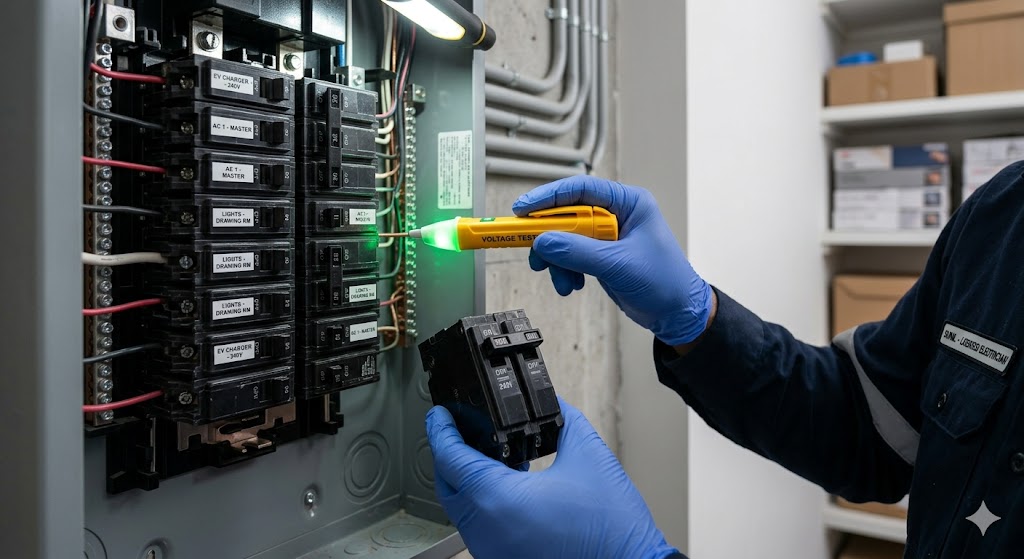
Stage 3: Electrical Panel Check (Potentially Adds 1 – 2 Days)
This is the single biggest variable in how long your EV charger installation takes.
A Level 2 charger draws significant power – typically 7.2 kW to 11.5 kW continuously while charging. If your home’s electrical panel doesn’t have the capacity to support a new 40–60 amp circuit, the panel needs to be upgraded before the charger can be installed.
Signs your panel may need an upgrade:
- You have a 100-amp service (common in homes built before 1990)
- Your breaker box is already full with no open slots
- You’ve been tripping breakers when running multiple appliances
- You’re adding other high-draw appliances at the same time (HVAC, hot tub, etc.)
A panel upgrade – typically moving from 100-amp to 200-amp service – adds both cost and time to your project. The upgrade itself takes a full day, and it requires a utility disconnect and reconnect, which is scheduled through your power company (SCE, LADWP, or others in the area).
For a full breakdown of what this involves and what it costs, read our guide: How Much Does It Cost to Upgrade an Electrical Panel in Southern California?
If your panel is modern with available capacity, this stage takes zero extra time – the electrician simply adds a new breaker and moves on.
Stage 4: The Physical Installation (2 – 4 Hours)
Once permits are in order and the panel is confirmed ready, the actual installation is the fast part.
Here’s what happens on installation day:
1. Circuit installation. The electrician runs a new 240-volt circuit from your electrical panel to the charger location. This involves running wire through conduit, either through the attic, crawlspace, or along the wall — whatever route makes the most sense for your home’s layout.
2. Mounting the charging unit. Your Level 2 charger gets mounted on the wall – usually in your garage, but exterior mounting is also common. Our Level 2 EV charger installation service covers all standard mounting configurations, including weatherproof outdoor setups.
3. Electrical connections. The new circuit is wired into both the panel and the charger unit. The electrician verifies all connections are tight and properly grounded.
4. Testing. The charger is powered on and tested to confirm it communicates with your vehicle correctly and charges at the expected rate.
For most homes, steps 1 through 4 take between 2 and 4 hours. Older homes with more complex wiring, or installs that require a long conduit run, may take closer to 6 hours.
Stage 5: Inspection (Same Day to 1 Week After)
After installation, many jurisdictions require a final inspection by a city or county inspector before the charger can be used.
The inspection itself takes about 15–30 minutes – the inspector verifies the work meets code, signs off on the permit, and you’re cleared to charge.
Scheduling the inspection is the variable. In some areas, inspections can be booked within a day or two. In others, it may take up to a week. We coordinate inspection scheduling as part of our installation service, so this doesn’t fall on you.
What Takes the Longest: A Summary
If you’re looking at a potential delay, here’s where it almost always comes from:
Panel upgrade – adds 1 to 2 days, plus utility scheduling for the disconnect/reconnect.
Permit approval – usually 1 to 5 business days, though this runs in parallel with scheduling.
Inspection scheduling – typically 1 to 7 days post-installation, depending on your local building department.
The physical charger installation itself? That part is rarely the bottleneck.
Level 1 vs. Level 2: Does Charger Type Affect Installation Time?
Yes – but only Level 2 requires professional installation.
A Level 1 charger uses a standard 120-volt outlet and simply plugs in. There’s no installation time because there’s nothing to install. The downside: Level 1 charges at roughly 4–5 miles of range per hour, meaning an overnight charge may only give you 40–50 miles. For most daily drivers, that’s not enough.
A Level 2 charger delivers 20–30 miles of range per hour – fully charging most EVs overnight. It requires the dedicated 240-volt circuit described throughout this guide, which is why professional installation is necessary.
If you’re weighing the options, our breakdown of Level 1 vs. Level 2 EV chargers covers the full comparison including cost, speed, and which makes sense for different driving patterns.
How to Speed Up Your Installation
If you want to get charging as fast as possible, here’s the checklist:
- Get your assessment scheduled early. The sooner we can look at your panel and location, the sooner permits can be filed.
- Know your panel’s amperage. Check your main breaker – if it says 200A, you’re almost certainly good to go. If it says 100A, expect a conversation about upgrading.
- Choose your charger location in advance. The closer to your panel, the faster and cheaper the install.
- Ask about same-day permitting. In some LA County cities, online permit submission is instant.
Ready to Get Your EV Charger Installed?
Most of our customers go from first contact to a fully installed, inspected charger in 3 to 7 days – including permitting. For simple installs in homes with ready panels, we’ve done it in a single day.
We serve homeowners and businesses across Santa Clarita, Lancaster, Valencia, Palmdale, Canyon Country, Stevenson Ranch, and the broader Los Angeles area.
- EV Charger Installation in Lancaster
- EV Charger Installation in Santa Clarita
- EV Charger Installation in Valencia
- EV Charger Installation in Palmdale
- EV Charger Installation in Stevenson Ranch
- Commercial EV Charger Setup
Contact Electra Work today and we’ll walk you through exactly what your installation involves — no surprises, no hidden delays.
Leave a Reply